
docker run -d --privileged \
  --name cloudpc \
  -p 5555:5555 \
  -v ./redroid-data:/data \
  erstt/redroid:11.0.0_ndk_ChromeOS \
  androidboot.redroid_gpu_mode=guest


# 远程
adb connect 127.0.0.1:5555
scrcpy -s 127.0.0.1:5555
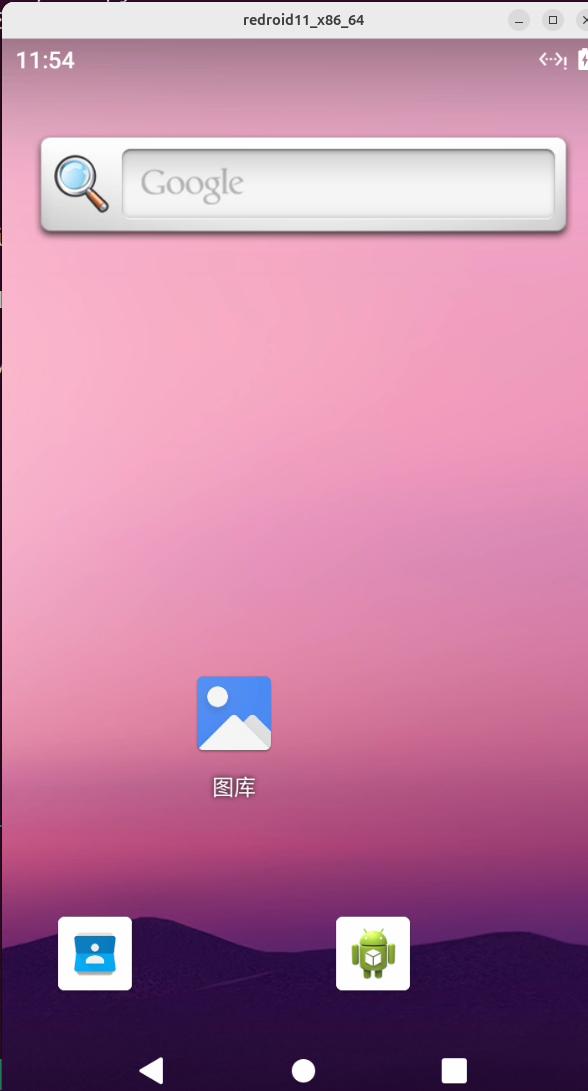
接下来会弹出窗口:
如adb connect发出报错:failed to connect to 127.0.0.1:5555
使用:
docker run -d --privileged \
  --name cloudpc \
  -p 5555:5555 \
  -v ./redroid-data:/data \
  erstt/redroid:11.0.0_ndk_ChromeOS \
  androidboot.redroid_gpu_mode=guest \
  androidboot.use_memfd=true

adb disconnect 127.0.0.1:5555
adb connect  127.0.0.1:5555
评论 · 1
``` docker run -d --privileged \ --name cloudpc \ -p 5555:5555 \ -v ./redroid-data:/data \ erstt/redroid:11.0.0_ndk_ChromeOS \ androidboot.redroid_gpu_mode=guest \ androidboot.use_memfd=true \ androidboot.redroid_width=1280 \ androidboot.redroid_height=720 \ androidboot.redroid_fps=60 ```
发表评论